Website powered by

Creating a Fern in SpeedTree and Unreal Engine

General / 22 September 2020

Hello, 

I continue with my process of learning about SpeedTree and how to use to make game ready foliage

This weekend I took the opportunity to visit the Botanical Garden of my city, Valencia.

It is essential to understand how vegetation grows, how the branches expand and how the leaves develop. It is a very interesting field to learn about it.

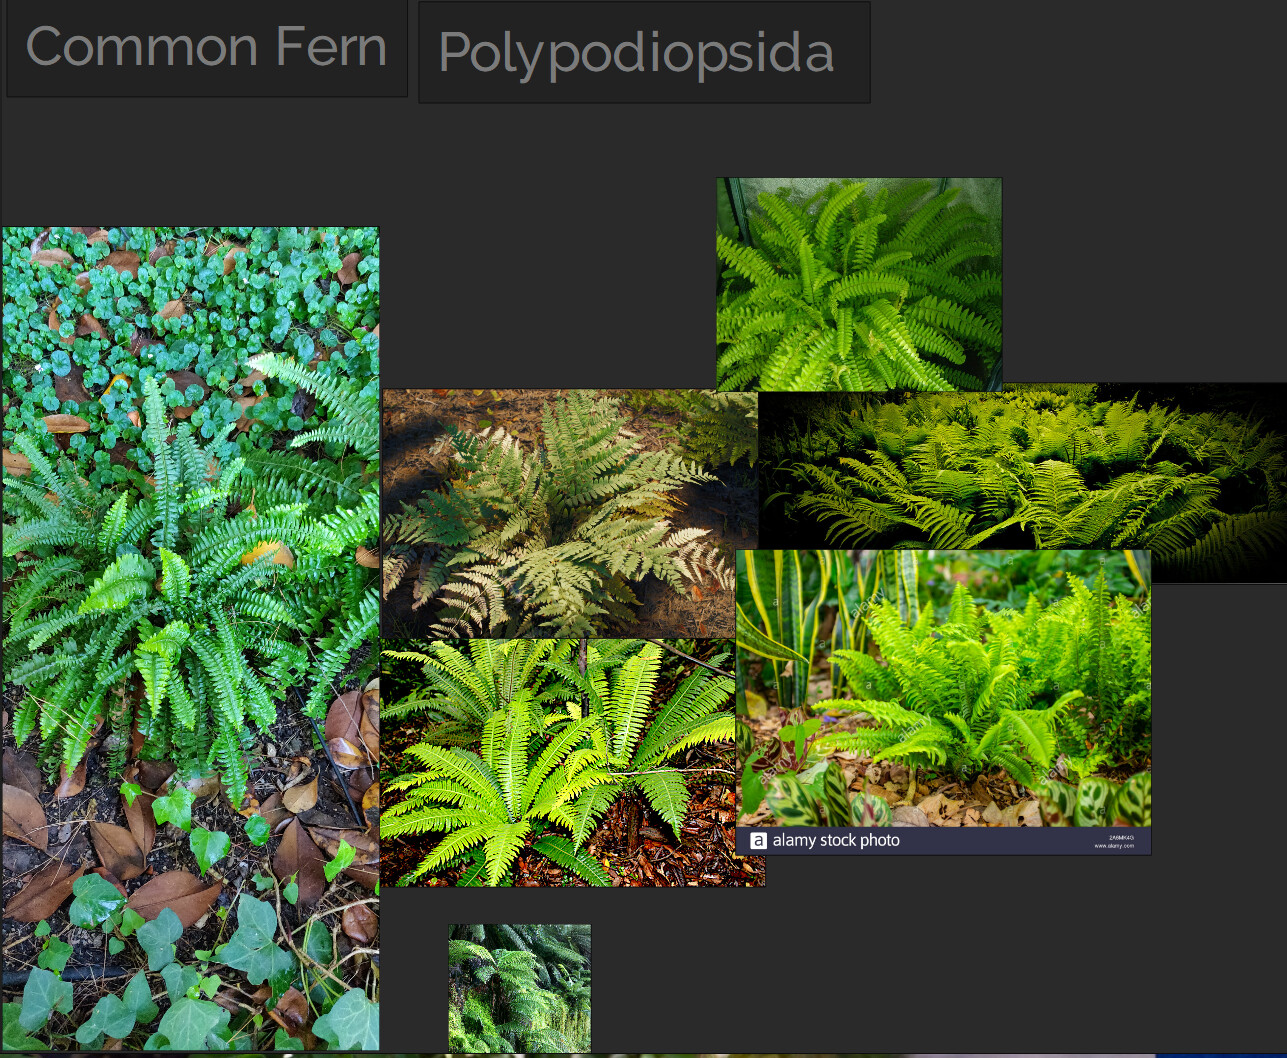
I did my first test on my own about how to create a Common Fern. These are some of the references.


The first thing I do is locate possible textures. For this porpuse I use www.textures.com and Megascan. There is a lot of material there. In fact this is one of the point to improve in the future, because at the end of the process I realise that the resolution of my textures seems a bit low. 

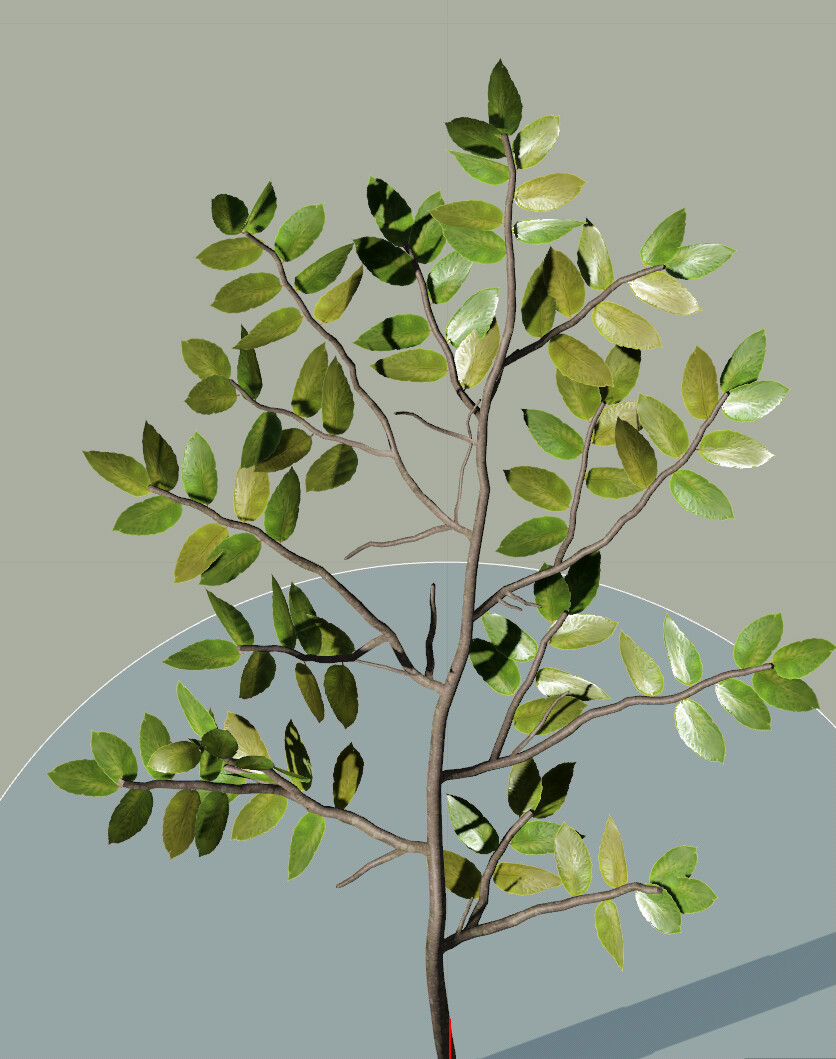
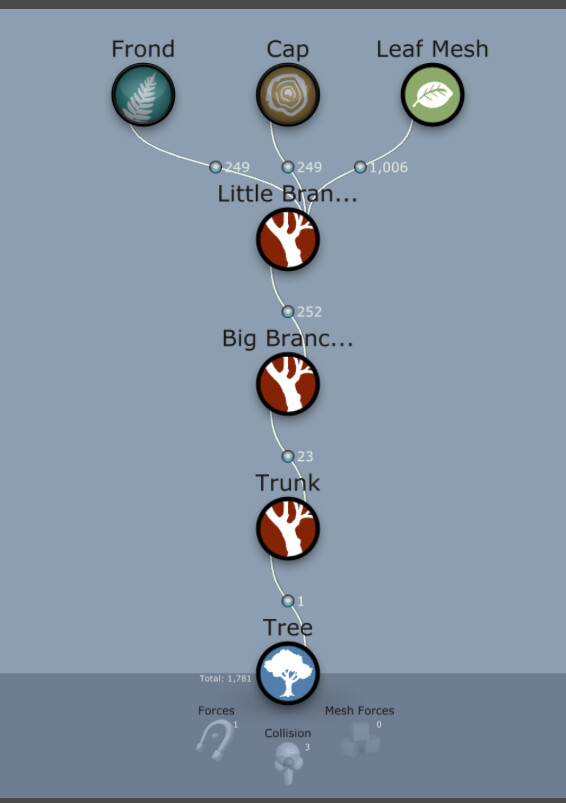
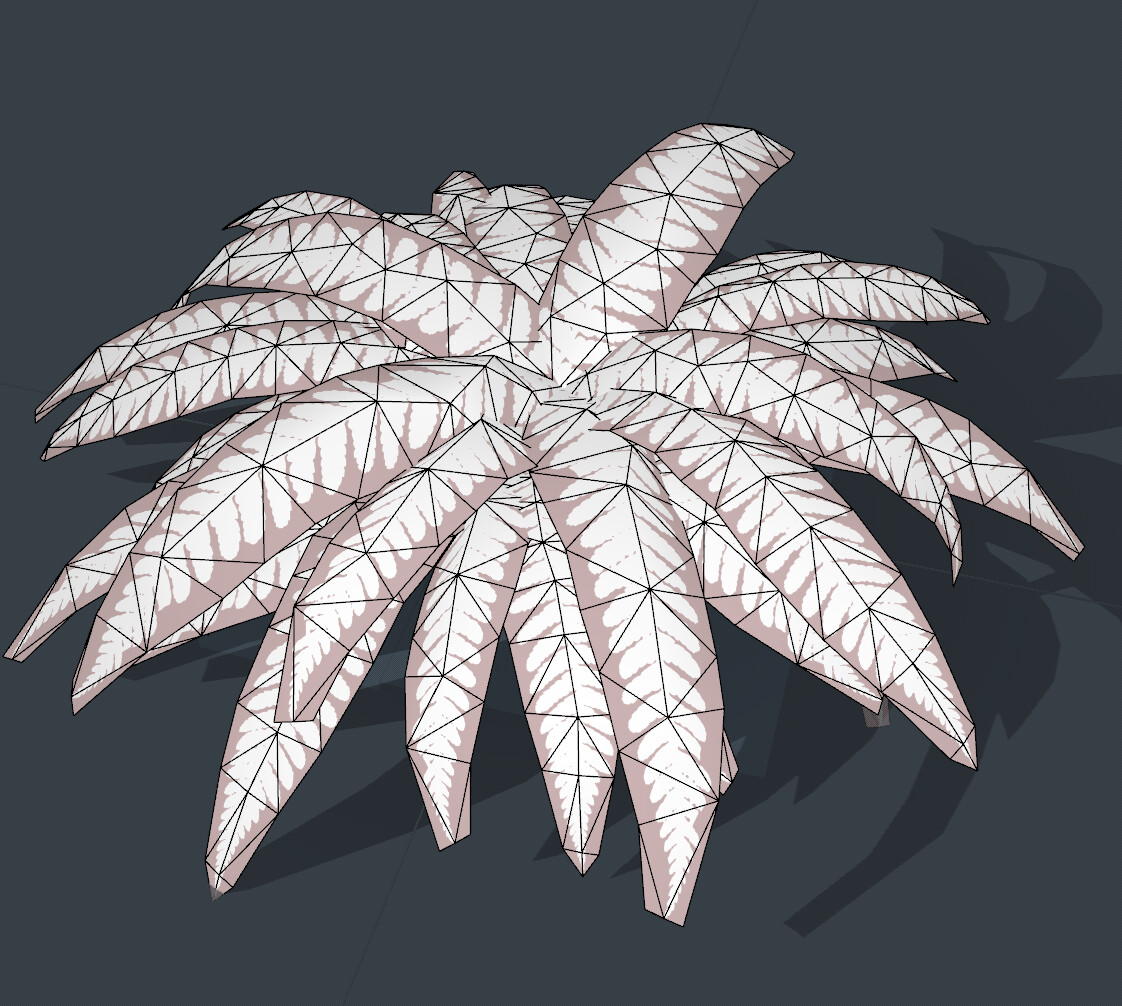
Once I have it ready I begin to create the fern in SpeedTree. I know that the way to face the creation of this fern isn't the most correct way but I decided to create a trunk as a point from which the branches will begin  to be distribute.

Now it's time to load my textures. SpeedTree has a great too that allows to generate your own mesh according  to the topology that you need.


Once distributed, I added a Leaf Mesh node. This one is use to create a scatter of the leaves by the trunk. It has a different ways to distribute them. I put it in Phyllotaxy mode, which referes to the real arrangemet of the leaves by the stem. 

I have tried to generate a distribution as logical as possible according to a fern. 


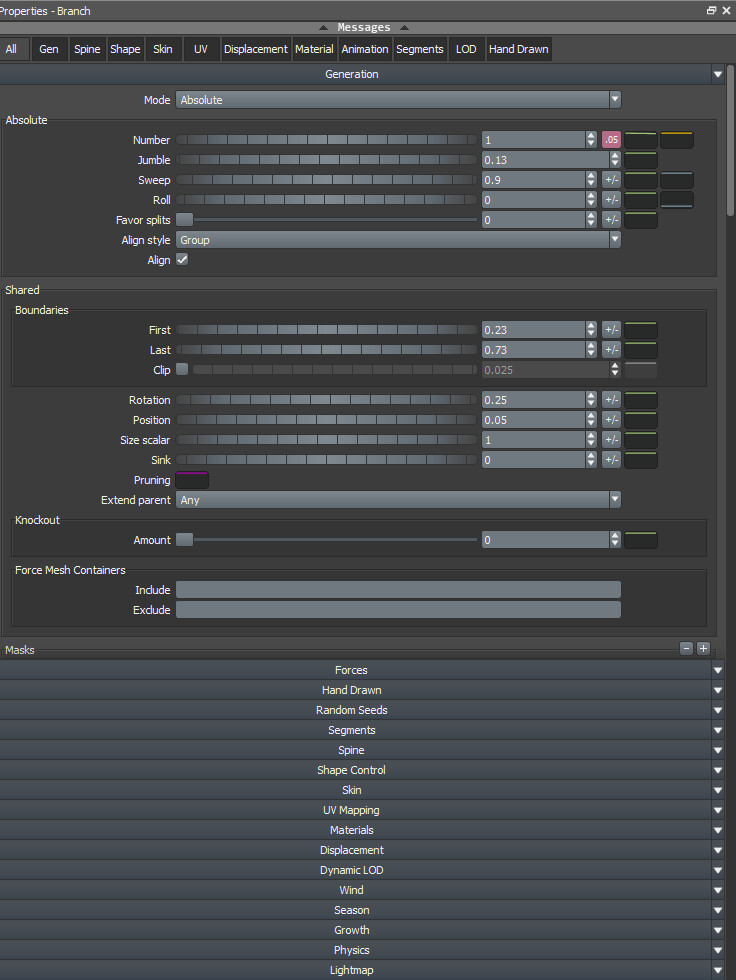
Forces can be used to control the distribution of the leaves. This allows me to make small adjustments. 

Once the plant is finished, we will go to a more technical stuff (this is in my opinion one of the great potentials of this software). I can control the resolution of the lightmaps and how they will work in the different LODs. In a fern this is something easy but having this tool when you need to make a tree is a real lifesaver. 

(Image of autogenerate lightmaps according to 32px layout)

The other tech stuff is creating LODs. Lods are a very important resource, they load different versions of the same model according to the camera distance in game, it's a very useful optimization tool. 

For the LODs, in SpeedTree you can easily configure how to decrease the polycount like reduce the number of branches or increasing the scale of the remaining ones so that it continues simulating the feeling of leafy. 


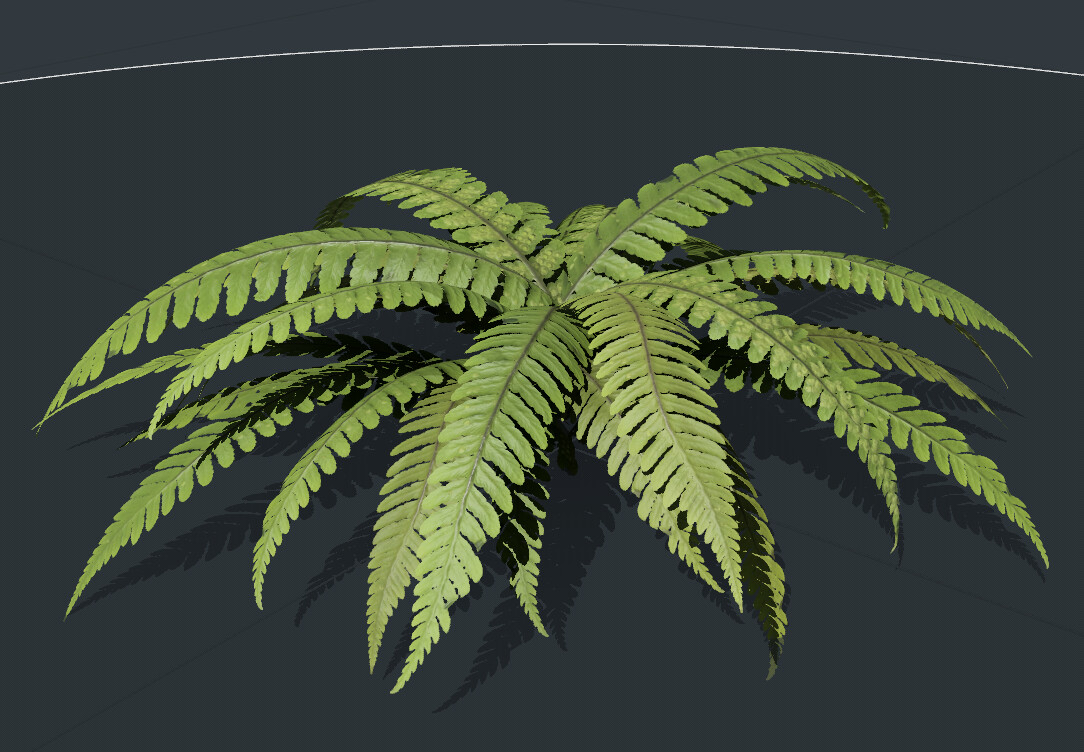
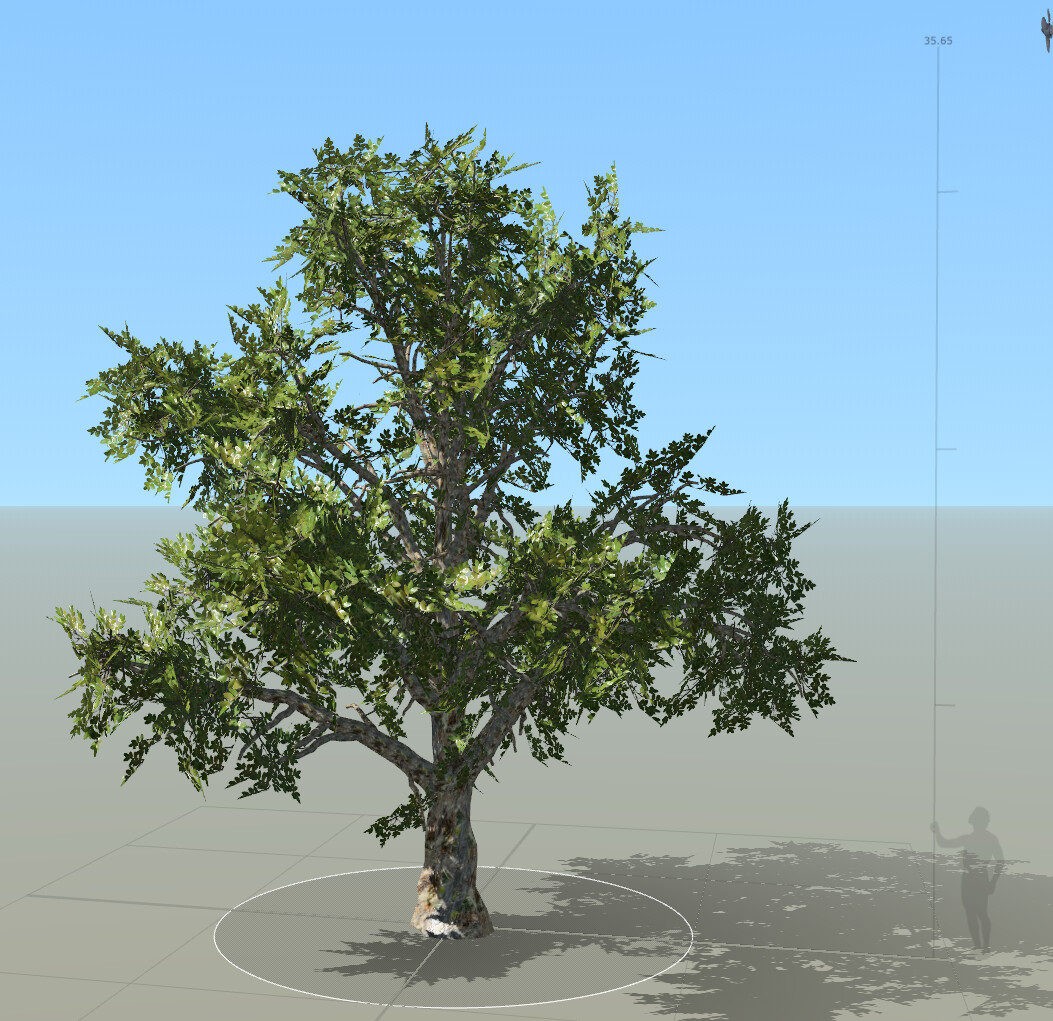
This is the final result. 

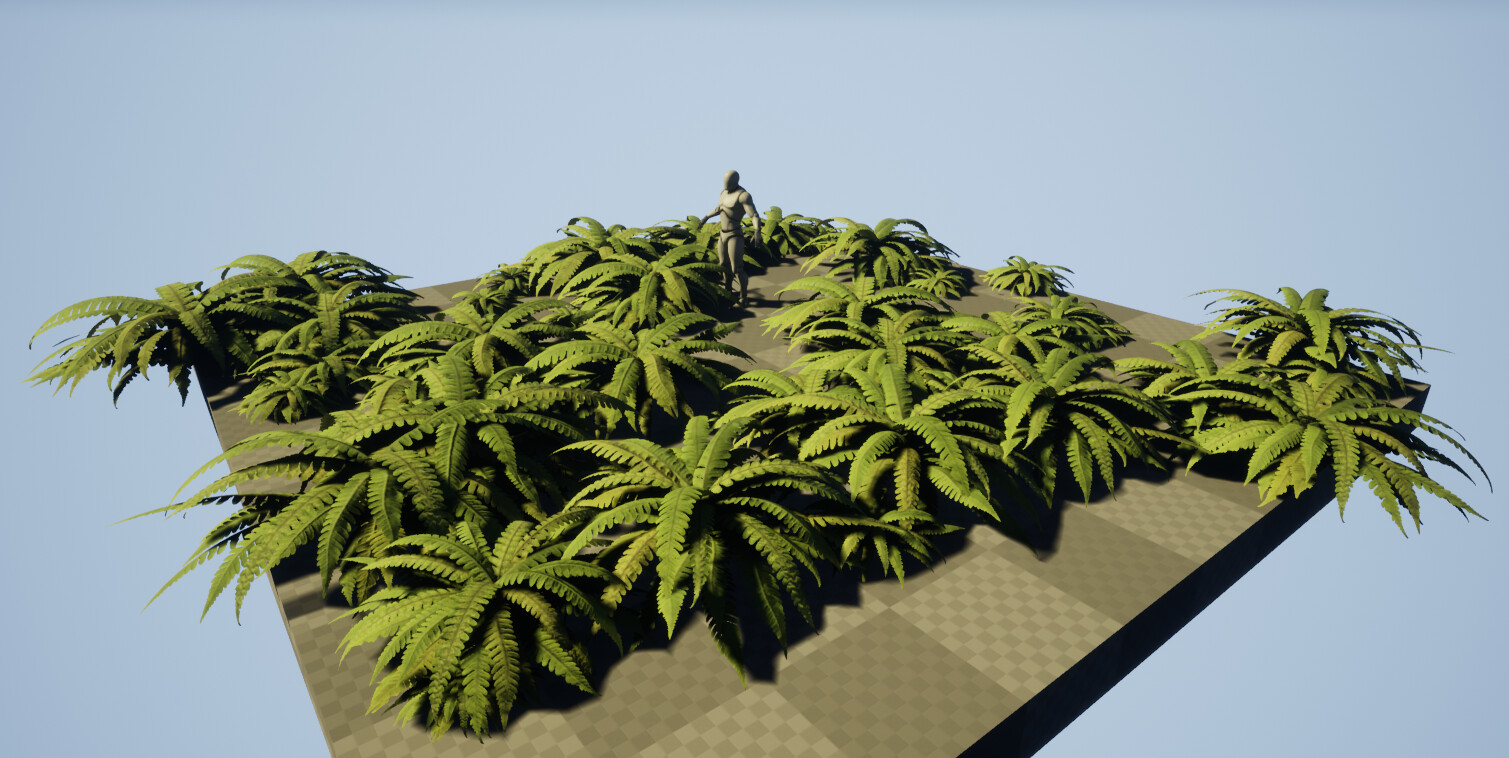
SpeedTree offers the option to export directly to Unreal generating the material and applying textures. In the case that you have established options references to forces such as wind these already appear operational. 


Points to continue researching and improving: 

-Layout of the textures, get to generate a more logical Atlas when exporting from SpeedTree, because right now I leave the feeling that there is quite a lot of space in texture unused. 

-Custom Normals looks that is working fine but I need to find out where I can set it up. 

-The resolution of the texture that I used is not quite enough. 


Thanks


Learning SpeedTree

General / 10 September 2020

Hi, 

It's been a long time since I've written anything. This week I decided to start learning SpeedTree on my way to improve as environment artist.  

https://store.speedtree.com/

SpeedTree is a great tool to create foliage. Recently I've been working in several projects making foliage and I wanted to see other ways to get the job done. 

My friend  Jesus Blasco  recommended this software. 


How does it work?


The software uses nodes to create the foliage. 

You can start making your own branches to bake it and uses like cluster. 


In this example of branch I started creating a main branch and adding some noise. 

Then I added another one a spread along the surface and use the same scatter to add leaves.

Seems easy but it's complicated because it has a huge amount of properties that we can tweak. 


When  we finish this cluster we can use it into our tree, creating custom LOD making the tree game ready.


Today I did a simple test. From now on I will start trying to recreate real vegetation. 

In order to learn well how to analyze different trees and how yo deal with them. 


Thanks.


Pd. The official Youtube Channel of SpeedTree has awesome tutorial to learn about it.


StarWars Corridor Breakdown

Making Of / 22 March 2020


Hi everyone, 

I'm going to make my first post to talk about the project that I started a few months ago. 

This is a StarWars fan art. I love the last Star Wars videogames, Jedi: Fallen Order. And I decided to make a corridor, trying to follow a pipeline that would allow me to optimize all resources inside Unreal. 

This was the mood that I wanted to get. 


References


To carry out this project I started by collecting a lot of references that would allow me to have a General Mood of what I wanted to achieve.

I also want to identify the modularity of the different pieces and decide what exactly I need to make.


Blocking


I started creating a blocking to get the general measurements and the different modules that I need. I made a very simple modeling to see if it gave me a good feeling.


Organization


It's essential to keep the project as organized as possible. So I try to follow a folder system. I learned in one of the courses that Clinton Crumpler teaches how to organized all my folders and I try to follow in all my projects.


HighPoly Modeling


These are the modules that I made.


Modular Elements


Finally these are the modules that I have exported to the engine.

These panels allowed me to make multiple variations and by varying the U position can change the texture of each of the panels. Also inside the engine I can alternate the color.


Textures and Materials


I have decided to use two main textures that have a total of six different modules. I could have used trims without problem but in this case I decided to don't do it.

It was no necessary to use Base Color since the color varied directly from the material. 

I have made use of Normal Map and RMA texture to be able to give some roughness variation. To control the emission color I also have a alpha channel inside RMA and also vary the color of the wear of the modules.


This is my Master Material 


WIP


Now I'm working on the lighting. I'm trying to do general lighting first. After that I will create the cameras and try to make a short sequence.